Wednesday, March 8, 2017

Taylored Expressions Sneak Peeks: It's Your Day!

10:00 AM 0 Comments

Hello! It's Day 3 of Sneak Peeks from Taylored Expressions and all of the new products will be available on Thursday, March 9th at 7AM PDT!

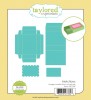
Today is my favorite day because we are introducing a couple of really cool die concepts! The first is the new Matchbox Dies! I made a cute little card and gift box set using the Matchbox Dies and the new Matchy Matchy Stamp Set:


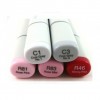
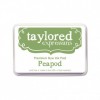
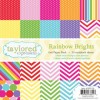
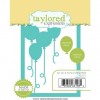
I started by stamping the images I wanted to use from Matchy Matchy with Oreo Ink and coloring them with Copic Markers. I cut them out with the Matchy Matchy Dies. I made the background of my card using the Up, Up, & Away Cutting Plate. I cut a piece of Peapod cs and then a piece of Oreo cs to use for the balloon strings. The balloons were cut out of a variety of TE designer paper.


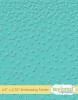
I put my matchbox together by cutting a piece of Cookie Monster cs with the Matchbox Dies and embossing the part that wraps around with the Confetti Embossing Folder. I made the frame using the included Matchbox Dies along with some Sugar Cube and Peapod cs and popped my cake image up with foam tape. I added a couple of chocolates to the inside for a fun little birthday treat:)
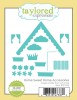
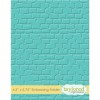
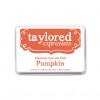
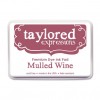
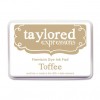
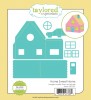
The next die set is the fabulous new Home Sweet Home Die Set and the coordinating Home Sweet Home Accessories Die Set! I started by cutting the base of my house out of Buttercream Frosting cs and embossing with the Brick Embossing Folder. I then used the Clarity Stencil Brushes to brush Pumpkin, Mulled Wine, and Toffee Ink over the bricks. I cut the roof out of Oreo cs and embossed with the Herringbone Embossing Folder. The door was cut out of Mulled Wine cs and the windows out of Sugar Cube cs.


The Home Sweet Home Accessories Dies were used to cut the planters, flowers, bushes, curtains, shutters, and the scalloped part of the roof. So cute and I can't wait to make this again with totally different colors and textures:)


I put my bag of chocolates inside-such a fun way to present a treat!


Taylored Expressions is celebrating Release Week with some fabulous giveaways! Visit the TE Blog to answer Taylor’s Question of the Day for a chance to win a prize from the latest release!

Thanks for stopping by! If you'd like to see more projects and new product information, please head over to the TE Blog for a complete list of our participating designers! I'll be back tomorrow for release day!


Kerri


Tuesday, March 7, 2017

Taylored Expressions March Sneak Peeks: This Is My Happy Face

10:00 AM 1 Comments

Hello! It's Day 2 of Sneak Peeks from Taylored Expressions, and all of the fab new products will be available on Thursday, March 9th at 7 AM PDT!

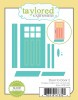
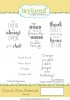
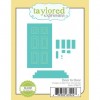
For my first card today, I used the new addition to the Door to Door series called Door to Door 2 along with the new Door to Door Sentiments Stamp Set! I am loving the new door! Those awesome windows at the top and the molding AND it even comes with a hinge piece so you can swing the door open like this:


I started by cutting the background out of Buttercream Icing cs and embossing with the Brick Embossing Folder. I then used a Clarity Stencil Brush to brush Pumpkin and Mulled Wine Ink over the brick. I cut my door out of Oreo cs and then added some Vellum behind the windows. I then cut my hinge piece and adhered it to the back of the door, and cut the door out once again to adhere to the back of the door for a cleaner look. 

For the inside, I stamped a sentiment from Door to Door Sentiments with Oreo Ink onto some Potato Chip cs. I cut it out using a Stitched Rectangle Stacklets Die, and made a frame for it by using 2 more Stitched Rectangle Dies and some Oreo cs. To keep the door closed, I added a small strip of Velcro.


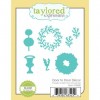
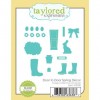
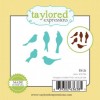
For my accessories, I used the steps from Door to Door, the wreath and bushes from Door to Door Décor, the bow and planters from Door to Door Spring Décor, and the little bird was cut using the Little Bits Birds Die and the grass using the Wispy Grass Border Die. I just love mixing and matching all these fun sets!


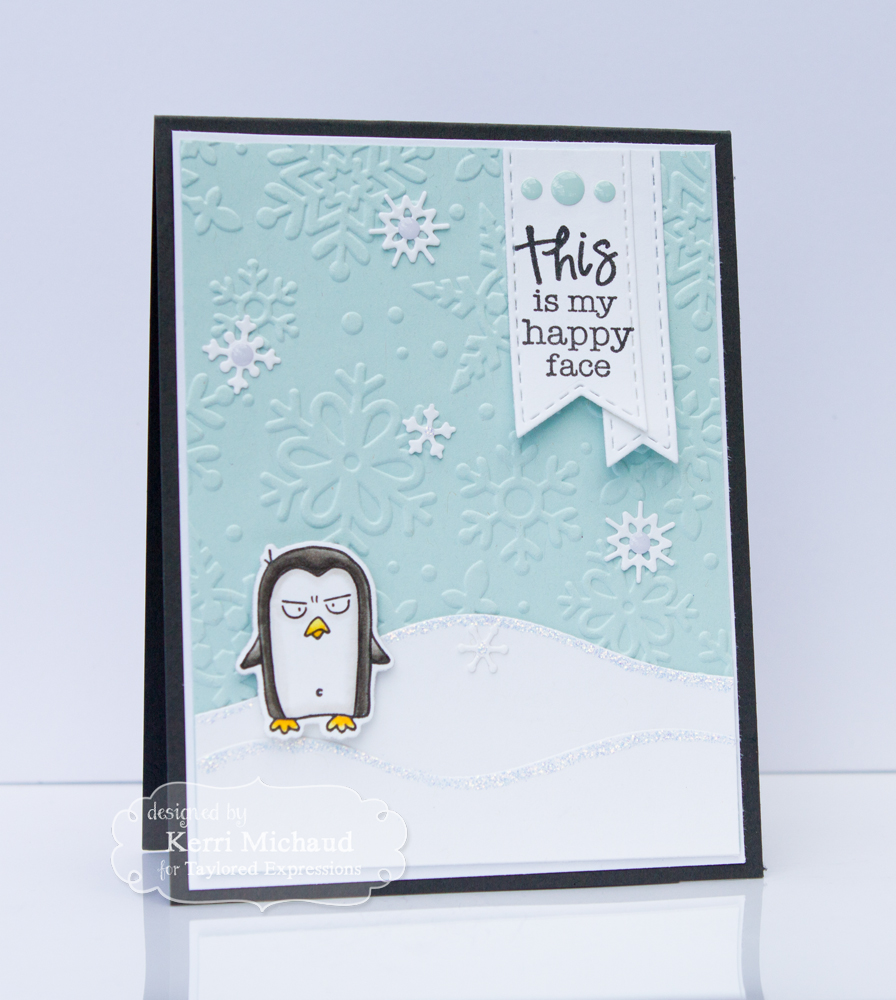
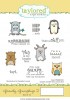
For my next card I used the hilarious new Grouchy Grumplings 2 Stamp Set along with the Grouchy Grumplings 2 Dies. I started by cutting a piece of Salt Water Taffy cs and embossing with the Winter Flurry Embossing Folder. I then added the hills that I cut using the Build a Scene Rolling Hills Dies out of Sugar Cube cs.


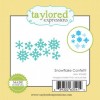
I stamped the cute penguin using Oreo Ink and colored with Copics before cutting him out with the coordinating Grouchy Grumplings 2 Die. I popped him up with foam tape over the snowy hills and then added a few more snowflakes that I cut with the Little Bits Snowflake Confetti Die. Finally, I stamped a sentiment from the set with Oreo Ink and cut it out with a Stitched Banner Stacklets Die. I cut another banner to layer behind and then added a few Salt Water Taffy and Sugar Cube Enamel Shapes to complete. So fun!


Taylored Expressions is celebrating Release Week with some fabulous giveaways! Visit the TE Blog to answer Taylor’s Question of the Day for a chance to win a prize from the latest release!

Thanks for stopping by! If you'd like to see more projects and new product information, please head over to the TE Blog for a complete list of our participating designers! I'll be back tomorrow with more peeks!


Kerri

Follow Us @soratemplates